This 40mm plain-top
demarcation stud is manufactured from 316L stainless steel and features a smooth, flat surface with bevelled edges. Measuring 40mm in diameter and 5mm in height, it provides a visible, low-profile way to mark boundaries and identify designated areas.
Its flat face can be engraved or laser etched with simple symbols, numbering, short wording or logos.
Material Information
The stud is manufactured from corrosion-resistant
316L marine-grade stainless steel for reliable long-term performance in internal and external environments.
The addition of molybdenum gives 316L stainless steel greater resistance to corrosion than commonly used grades such as 304, particularly in exposed locations where the stud may encounter moisture, salts or other environmental contaminants.
Design
The stud features a smooth, flat face with bevelled edges and a single M8 threaded fixing. The threaded surface provides a strong mechanical key for the resin used to secure the stud.
Its 40mm face can accommodate:
- Simple logos and branding
- Symbols and directional markers
- Numbers or reference codes
- Short identification marks
For help matching the size, profile and material to an installation, read
how to choose the right demarcation stud.
Application
These studs are suitable for:
- Marking property and area boundaries
- Identifying outdoor dining or commercial spaces
- Numbering parking bays and designated areas
- Displaying engraved symbols or branding
- Marking pedestrian routes and walkways
- Creating visible, low-profile area demarcation
This product is intended for area demarcation and visual communication rather than recreating a prescribed tactile warning surface. Read about
the difference between demarcation studs and tactile studs.
Installation
This stud is installed using the drill-and-resin method:
- Mark the required position.
- Drill a hole suitable for the M8 threaded fixing.
- Remove all dust and debris from the hole.
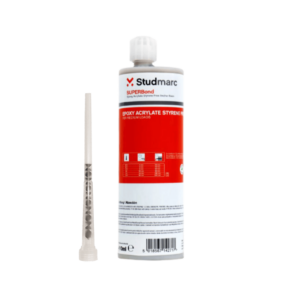
- Apply a suitable epoxy resin.
- Insert the stud and remove any excess resin.
- Allow the resin to cure fully before reopening the area to traffic.
Curing times vary between products and environmental conditions, so always follow the resin manufacturer’s instructions.
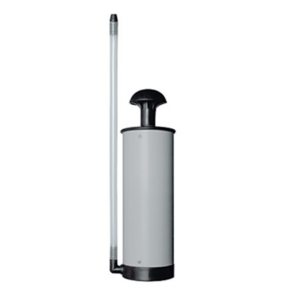
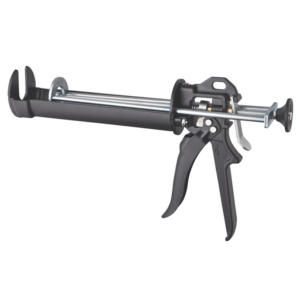
Installation equipment required: Drill, suitable drill bit, push pump, epoxy resin and applicator gun.
For detailed preparation and fixing guidance, read
how to use epoxy resin to install architectural studs.