This 40mm low-dome
demarcation stud is manufactured from 316L stainless steel and features a circular-groove surface. Measuring 40mm in diameter and 5mm in height, it provides a visible and detectable way to mark boundaries, pedestrian routes and designated areas.
The grooved surface is intended to provide additional grip compared with a plain, smooth stud, making it particularly suited to external spaces where the surface may encounter rain or moisture.
This product is intended for area demarcation rather than recreating a prescribed tactile warning surface. Read about
the difference between demarcation studs and tactile studs.
Material Information
The stud is manufactured from corrosion-resistant
316L marine-grade stainless steel for reliable long-term performance in internal and external environments.
The addition of molybdenum gives 316L stainless steel greater resistance to corrosion than commonly used grades such as 304, particularly in exposed locations where the stud may encounter moisture, salts or other environmental contaminants.
Design
The stud features a flattened, low-dome head with concentric grooves machined into its surface. These grooves create additional edges that can improve contact between the stud and footwear compared with a plain surface.
Actual slip resistance will depend on the complete installation, including the surrounding surface, contaminants and environmental conditions. Learn more about
tactile stud patterns and grip and
how anti-slip performance is measured.
Application
These studs are suitable for:
- Marking outdoor dining areas
- Defining pedestrian routes and walkways
- Identifying queuing or waiting areas
- Marking property and parking boundaries
- Creating visible, low-profile area demarcation
- External locations where a grooved surface is preferred
For help matching the stud’s size, profile and material to the installation, read
how to choose the right demarcation stud.
Installation
This stud is installed using the drill-and-resin method:
- Mark the required position.
- Drill a hole suitable for the fixing.
- Remove all dust and debris from the hole.
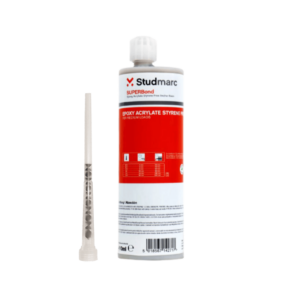
- Apply a suitable epoxy resin.
- Insert the stud and remove any excess resin.
- Allow the resin to cure fully before reopening the area to traffic.
Curing times vary between products and environmental conditions, so always follow the resin manufacturer’s instructions.
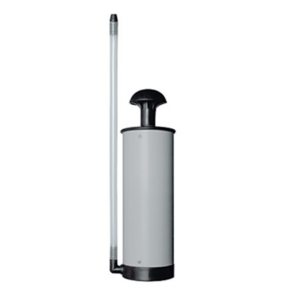
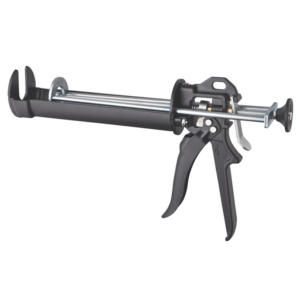
Installation equipment required: Drill, suitable drill bit, push pump, epoxy resin and applicator gun.
For detailed preparation and fixing guidance, read
how to use epoxy resin to install architectural studs.