Can I install tactile studs in place of stair nosing?
Installing tactile studs in place of stair nosing
In some circumstances, installing tactile studs in place of stair nosing may be preferable. This could be due to the nature of the stair set e.g., shape ledge, material, riser overhang. These features of a stair set can make it difficult or almost impossible to outfit each stair with a stair nosing, but luckily tactile studs make a worthy replacement.
How large should tactile studs be for a stair set?
There’s no guidance relating to tactile studs and their use on stairs so a lot of this comes down to common sense. The ideal size is the most commonly used 25mm stud. There is the possibility of using sizes up to 50mm tactile studs, but anything over that would not be considered suitable for application.
When dealing with a set of stairs it’s important that whatever safety device is used such as a stair nosing or tactile stud doesn’t become a hazard in itself through improper sourcing or installation.
What types of tactile studs can be used?
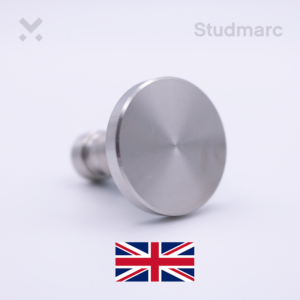
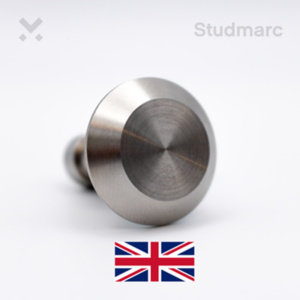
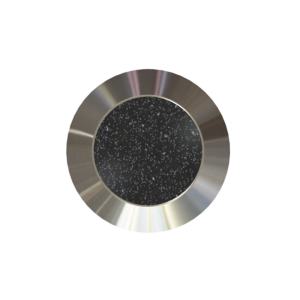
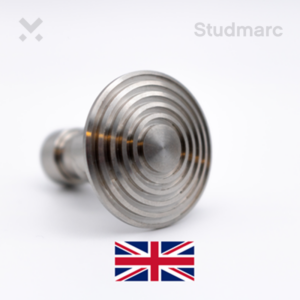
There are three main options for use on a stair set, flush fit, low dome and chamfered edge tactile studs. A flush fit stud can be installed to sit on the surface of the stair or inset into the stair tread, whereas a chamfered edge or low dome stud will sit on the surface of the stairs. Flush fit studs that are installed inset into the stair tread will serve more as a visual indicator than a tactile one unless the surface is textured, whereas when installed proud they can be felt underfoot easily. Chamfered edge and low dome studs are also easily felt underfoot as by default they sit atop the surface.
What tactile stud material should I choose for installation on a stair set?
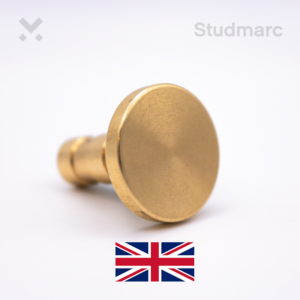
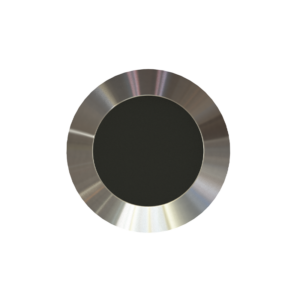
There are no wrong answers when it comes to materials, it’s more personal preference to match the surrounding aesthetic. Although, it’s worth keeping in mind that a contrast in colours can be of great help and importance to the visually impaired. If a full metal stud is needed, brass or bronze studs are a great choice to really stand out against a grey or white background, and steel or aluminium for a black one. Alternatively, studs with inserts are ideal for a true contrast as they are available with anti-slip tape, PVC, and TPU inserts to provide extra grip while being customisable in many colours.
How far apart should tactile studs be installed on stairs?
Once again, there’s really no guidance tactile studs and their use on stair sets but it’s worth taking a cue from the DETR (Department of the Environment, Transport and the Regions) and their existing policies for their use elsewhere. In normal use such as in the form of blister paving the spacing between studs is 41.8mm from the central point of each stud. For the distance from the edge of the stair tread (or the edge of the stair), we recommend installing them at 27.5mm from the very edge.
How should I install tactile studs on stairs?
Depending on the material the stairs are made of there are three different methods of installation:
- Self-adhesive
- Self-adhesive studs are ideal for use on surfaces that can’t be drilled or screwed into, and when they are only being used as a temporary measure.
- Drill and resin
- Drill and resin is a great method of installation when the stairs are made of stone or concrete, as this creates a long-lasting, secure hold for the studs.
- Screw hole
- Screw hole studs are ideal for wooden and soft material stair sets. They can be installed by drilling and using a rawl plug to secure them in place with a screw.