
Tactile studs and strips – A complete guide
What are tactile studs and strips, and how do they work?
Tactile studs and strips are raised indicators used to make streets, stations and buildings easier to navigate for blind and visually impaired people. They work by creating a recognisable change underfoot or through a cane, warning of a hazard or helping someone follow a route through an open space both in public and private locations.
There is a lot more to a tactile surface than choosing a stud and placing it on the ground. The layout, height, spacing, material, colour and fixing method all have a part to play. This guide brings those decisions together and points towards the more detailed articles in our Knowledge Base.
What is the difference between a tactile stud and a tactile strip?
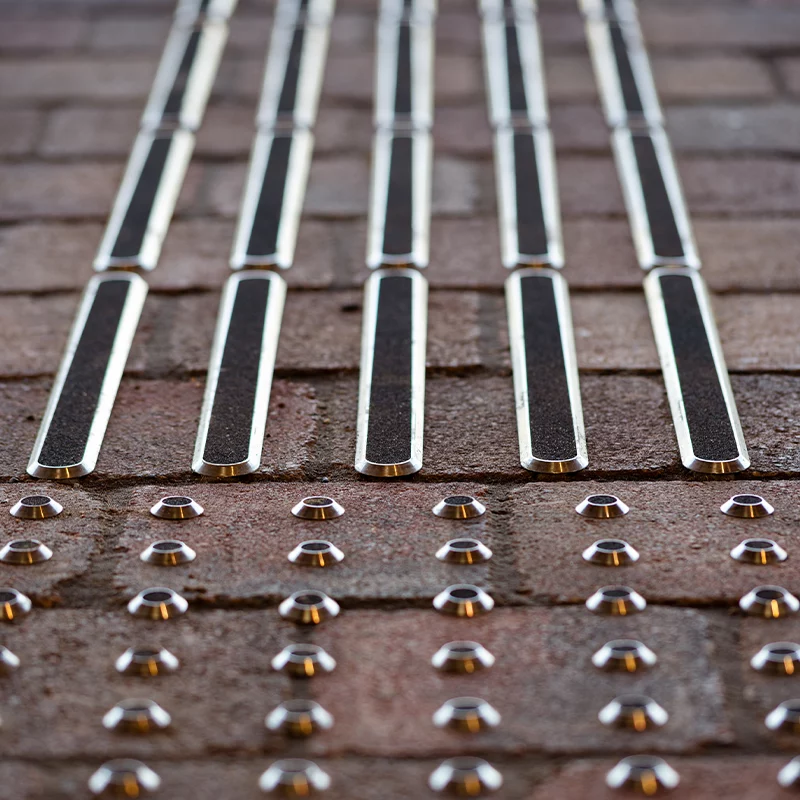
A tactile stud is an individual raised indicator. Studs are normally repeated in rows to form blister or offset blister patterns. A tactile strip is longer and is normally used to create a corduroy warning surface or a directional guidance path.
The product itself only tells part of the story. The arrangement is what gives the surface its meaning. A grid of studs at a crossing conveys a different message from an offset pattern at a platform edge, just as strips running along a route perform a different job from strips placed across it. Our introductions to tactile studs and tactile strips explain the two products in more detail.
How do tactile indicators work?
Tactile indicators are installed in a group to form a signal or pattern. Once someone recognises a particular pattern, they can use it to anticipate what lies ahead and alter their pace or direction. That could mean locating a crossing point, keeping away from a platform edge or following a route where there are few other landmarks or obstacles to avoid.
This is why an indicator should never be selected without a particular layout in mind. The same stud or strip can be useful or confusing depending on where and how it is installed. You can read more about the distinction in how tactile studs work.
The main tactile paving patterns
The most commonly encountered patterns include:
- Blister paving at controlled and uncontrolled pedestrian crossings.
- Offset blister paving at the edge of railway platforms.
- Corduroy warning surfaces near hazards such as steps.
- Directional guidance paths through open or difficult-to-navigate spaces.
- Shared cycle track paving in-between pedestrian paths and cycle routes
Each pattern has its own distinct purpose and guidelines around how it should be set out. Our guide to tactile paving patterns provides a visual explanation of the main arrangements.
Studs, strips, paving tiles or mats?
Traditional tactile paving builds the complete pattern into a tile. Individual studs and strips create the pattern on top of an existing surface. This makes them particularly useful when tactile guidance needs to be retrofitted, like at listed or heritage locations, or when the surrounding paving or floor finish is intended to remain visible.
Neither approach is automatically the best. Individual indicators can reduce disruption and give more freedom over materials and appearance, while a complete tile or mat can be quicker to position and replace in the right circumstances. The surface, space restrictions, expected traffic and any maintenance plans should decide which product is selected. We explain more in the benefits of retrofitting tactile studs and strips.
What are tactile studs and strips made from?
Tactile indicators are available in stainless steel, aluminium, brass, bronze and TPU. Metal indicators are often chosen for their durability and the way they sit within stone, concrete or high-quality flooring. TPU provides a lighter, coloured alternative and can be useful where visual contrast is a priority or the installation is temporary.
There is no single best material for every project. External exposure, foot traffic, cleaning, appearance, budget and the surrounding materials all need to be considered. Our tactile stud range gives an overview of the available product range.
How are tactile studs and strips fixed?
The most common permanent method is to drill the surface and secure a fixing pin with resin. There are also screw-fixed, self-adhesive and temporary options. The right fixing depends on the product, the substrate and the amount of use the finished surface will receive.
A sound concrete or stone surface may be well suited to a drill-and-resin installation. A thin porcelain tile or a floor that cannot be drilled needs a different approach. The fixing is not so much an afterthought as it is an integral part of the product selection. See our guide to tactile stud and strip fixing pins for the most common options.
Summary
Tactile studs and strips are simple objects carrying an important message. For them to work properly, the correct product has to be combined with the correct pattern, location, material and fixing. Starting with the message the surface needs to communicate makes every decision that follows much easier.
If you need help choosing a system or developing a layout, our design, manufacturing and installation services can support the project from its early stages through to installation.