Description
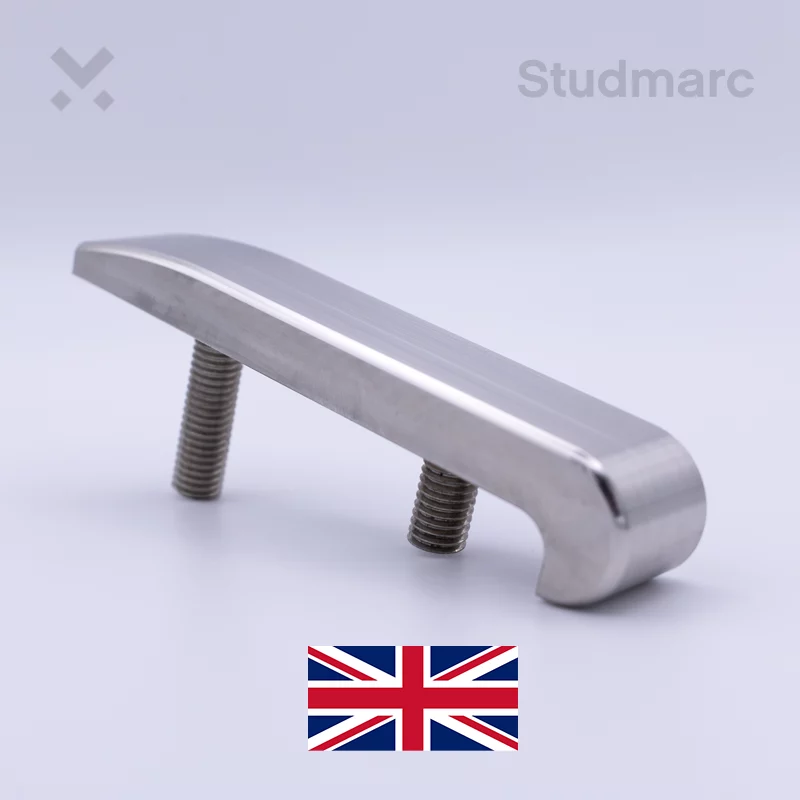
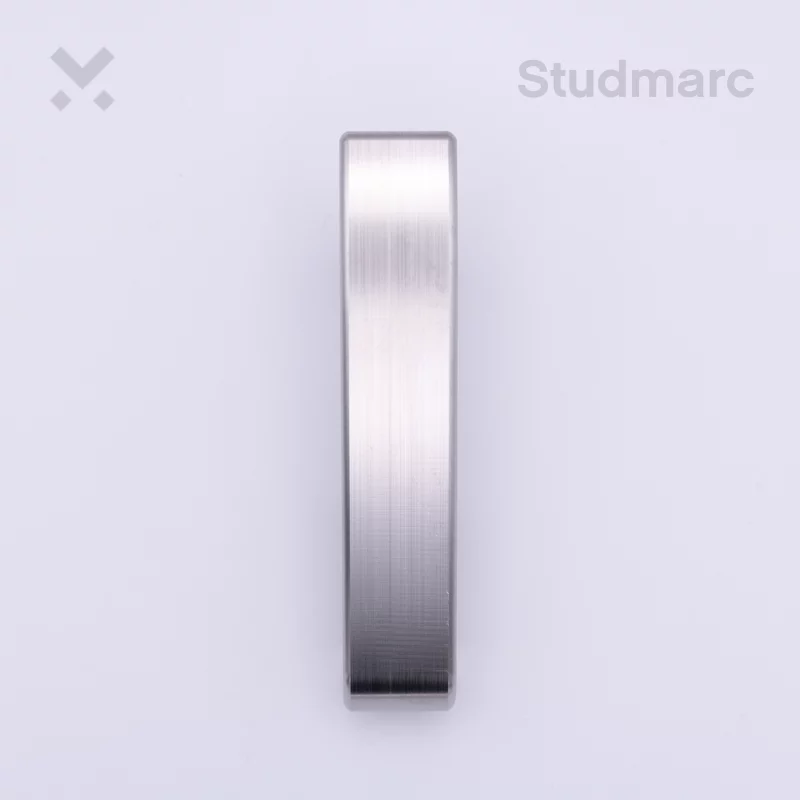
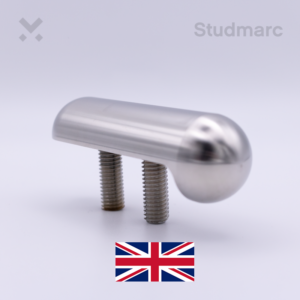
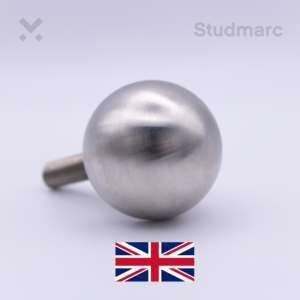
This bar anti-skate stud is manufactured from 316L stainless steel and has a machine-polished finish. It is designed to sit flush on walls, planters or furniture, with a 4mm radius as standard, blending neatly into the surrounding aesthetic.
The Bar Anti-Skate Stud provides a substantial skate deterrent by interrupting the continuous edges skaters need to grind or slide, helping to protect walls, furniture and other architectural surfaces from damage.
Material Information
This stud is manufactured from high-quality 316L stainless steel for long-term external use. The material provides excellent corrosion resistance and is particularly well suited to demanding outdoor environments where the stud may be exposed to rain, snow, moisture and other weather conditions.
Design
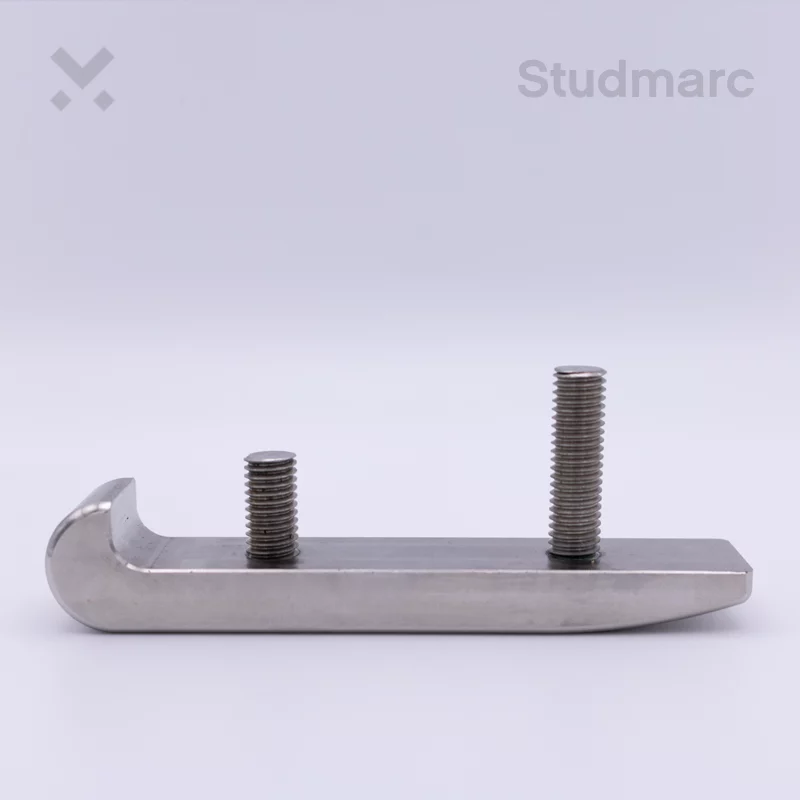
The stud has a bar-shaped design with an overhanging square head. The body extends backwards and lies flat against the surface on which it is installed.
Its extended length provides greater coverage along the edge of a wall, bench or other surface, interrupting a larger section of the line that could otherwise be used for grinding.
Two M8 fixing studs provide additional stability and help secure the deterrent firmly to the substrate.
The standard 4mm radius means the profile of the installation surface should be checked before specifying the product. See
What measurements do I need for anti-skate studs? for guidance on measuring wall widths, edge profiles and radiuses.
For help comparing this design with other options in the range, see
How do I choose the right anti-skate stud?.
Application
The Bar Anti-Skate Stud can be installed on a range of
surfaces suitable for anti-skate studs, including:
- Walls
- Benches
- Steps
- Planters
- Street furniture
The suitability of the fixing will depend on the material, condition and available depth of the substrate.
Installation
The Bar Anti-Skate Stud is typically installed by:
- Drilling two fixing holes into the designated surface.
- Clearing the holes of dust and debris.
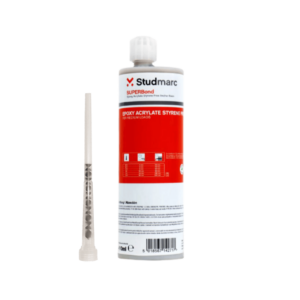
- Applying epoxy resin into the fixing holes.
- Inserting the stud and allowing the resin to cure.
For detailed preparation and fixing instructions, see
How to use epoxy resin to install architectural studs.
Always follow the curing instructions supplied with the chosen resin before the installation is subjected to use or loading.
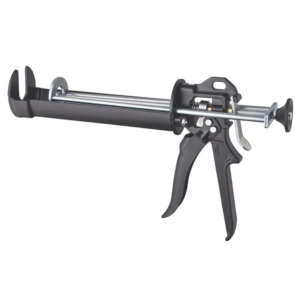
Installation equipment required: Drill, appropriate drill bit, push pump, epoxy resin and applicator gun.