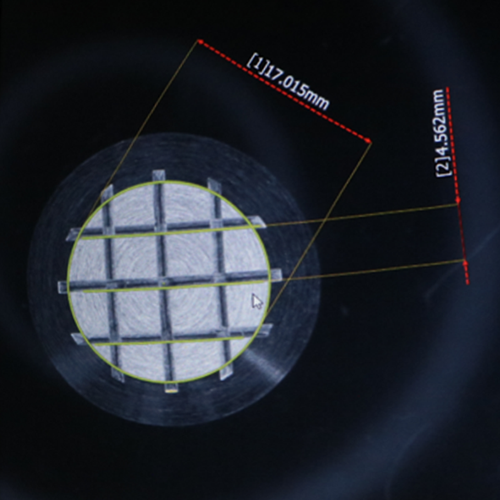
When are tactile studs and strips measured?
Tactile studs and strips are measured throughout the manufacturing process, this includes the beginning, middle, and end. At no point is it desirable to have the machine’s tooling become blunt or damaged, as this will produce sub-optimal results and cause the studs or strips to be rejected. This can happen at any time so we’re vigilant in watching the machines and assessing their performance. This level of vigilance prevents wastage and makes sure that the level of accuracy is always on point.
If it’s discovered that the measurements are out, the machine will be inspected, adjusted, retooled and production will be restarted.
What issues do tactile studs and strips cause if they’re out of tolerance?
Depending on how far out the measurements are they can present a whole host of problems at the point of installation and use.:
- The underside of the stud or strip’s head
- If the underside isn’t flat or level, it can cause the stud or strip to not sit flush with the surface it’s being installed in. This can translate to a trip hazard or cause it to become unseated over time if it allows water and dirt ingress.
- Top of the stud or strip
- If the top of the stud or strip is uneven, this can present a trip or slip hazard depending on how it’s been cut.
- Machined pin
- A machined pin that’s been badly manufactured becomes obvious at the point of installation, as if it’s bent, too small, or too large it can be difficult to insert into pre-drilled holes and resin into place.
- Radius
- In the case of something like an anti-skate stud that’s designed to sit on the edge of a wall it’s vital that the radius be pinpoint accurate. Failing to do this may mean that the stud doesn’t sit correctly on the surface allowing water ingress which over time will expand underneath the stud or in the brick/stonework itself. This can occur slowly over time gradually unseating the stud.

