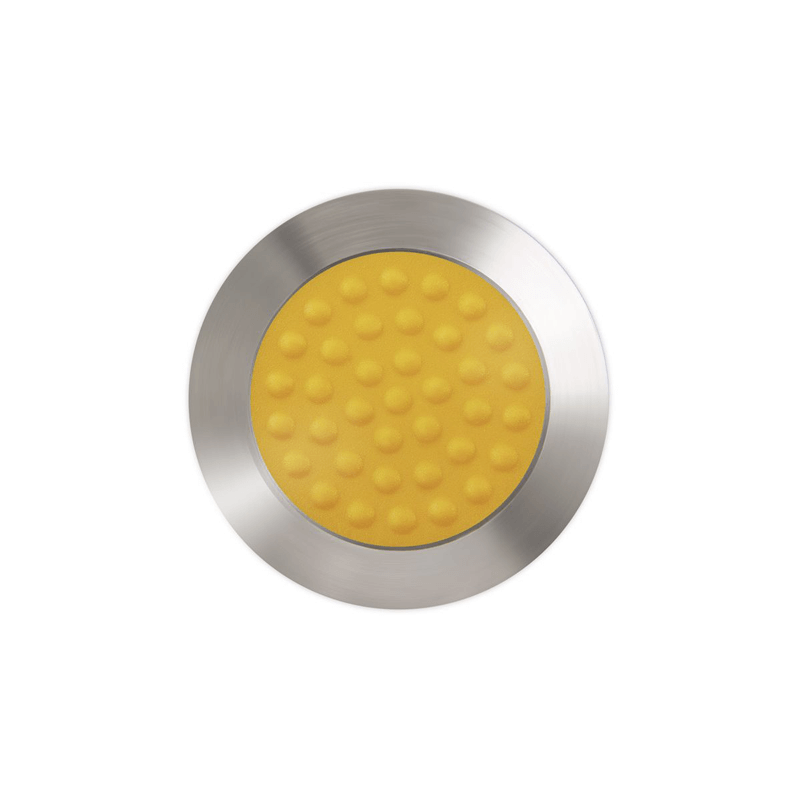
How to install self-adhesive studs and strips
Installing self-adhesive studs and strips is a simple process, but it still requires a degree of preparation to ensure the ideal bond. Simply sticking down the studs and strips may lead to unsuitable seating and cause them to come away under pressure from daily use.
Templates are available for the installation of any studs and strips and provide a country-specific, compliant layout. Where templates aren’t available a detailed description of measurements and spacings can be provided.
The key installation stages are:
1. Marking out the area
To guarantee accuracy when applying the studs and strips it’s best practice to use masking tape to mark out the area where the work will take place. This aids in maintaining straight and level lines during the application of any stencils and the subsequent application of the studs and strips.
2. Cleaning the surface
The marked area then needs to be completely cleaned with grease and dirt remover and allowed to dry. This step is vital in making sure the surface is prepared for bonding and that there’s no dust or dirt that will prevent a perfect seal.
3. Laying out the template
The template can then be applied within the marked area, ready for the application of the studs or strips. It’s important that templates are laid end to end to ensure the correct spacing between the studs or strips.
4. Penetrating primer
For porous or absorptive surfaces, it’s often preferable to use a penetrating primer to allow for better adhesion. This can be applied to the template itself with no need to coat the surrounding area.
5. Applying self-adhesive studs and strips
Once the surface is prepared and the studs are down, it’s time to peel back the protective foil from the strips. It’s best to do this in stages to make sure the least amount of dust in the air sticks to the adhesive. Start by peeling one end and then applying the exposed section to the surface, then slowly peel away the rest of the foil while pushing down the strip or stud, ensuring a bond.
Try and avoid unsticking and re-seating the strips or studs as this can cause damage to the adhesive and prevent it from sticking to the surface.
Once the tactile strips or studs are laid, both the template and masking tape can be removed. It’s preferable to apply some pressure to your freshly laid tactile devices, for tactile strips it can be a good idea to use a hand roller. Doing this will make sure all parts of the adhesive are bonded to the surface.